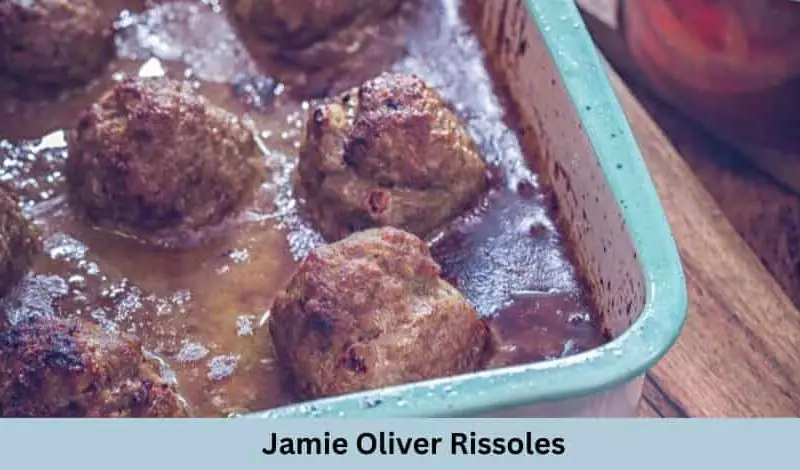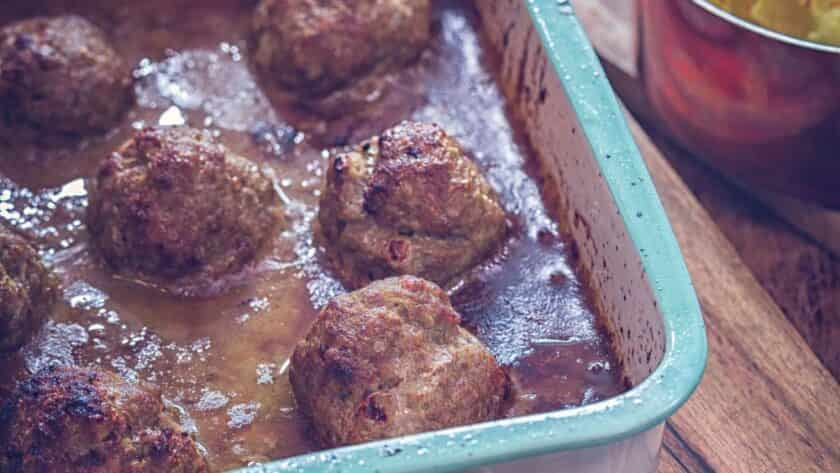
Jamie Oliver’s Rissoles are a delightful treat, combining the richness of meat with the freshness of herbs and a crisp outer texture. Perfect for family dinners or as a savory snack at gatherings, these rissoles promise a burst of flavor in every bite.
This recipe serves 4-6 people and takes about 45 minutes from start to finish.
In this guide, I’ll walk you through the process of making Jamie Oliver’s famous Rissoles, complete with practical tips and suggestions to ensure you get them just right every time.
What are Jamie Oliver Rissoles?
Jamie Oliver Rissoles are a type of meat patty, seasoned with herbs and spices, then fried or baked to achieve a golden crust. They are versatile and can be adapted with various ingredients to suit any palate.

Other Popular Soup Recipes:
Why You’ll Love This Recipe
- Simple Ingredients: Uses everyday ingredients that are easy to find and work with.
- Versatile Dish: Perfect as a main course, appetizer, or as part of a larger meal.
- Family Friendly: Loved by adults and kids alike, making it a great choice for family meals.
- Customizable: Easy to tweak to your own taste preferences or dietary needs.
Ingredients Needed to Make Jamie Oliver Rissoles
- Ground Beef (500g / 1.1 lbs): Choose lean ground beef for best results.
- Onion (1 medium, finely chopped): Adds sweetness and texture.
- Garlic (2 cloves, minced): For a hint of pungency.
- Fresh Parsley (1/4 cup, chopped): Brings freshness and color.
- Dijon Mustard (1 tablespoon): Provides a tangy depth of flavor.
- Worcestershire Sauce (2 teaspoons): Enhances the meaty taste with its rich, umami flavor.
- Egg (1 large): Helps bind the ingredients together.
- Breadcrumbs (1/2 cup): Gives the rissoles structure and helps retain moisture.
- Salt and Pepper: Season according to taste.
Equipment
- Mixing Bowl: For combining the rissole mixture.
- Frying Pan or Skillet: For cooking the rissoles to perfection.
- Measuring Cups and Spoons: For accurate ingredient measurements.
- Chopping Board and Knife: For preparing the ingredients.
Instructions to Make Jamie Oliver Rissoles
Step 1: Prepare the Mixture
In a large mixing bowl, combine the ground beef, finely chopped onion, minced garlic, chopped parsley, Dijon mustard, Worcestershire sauce, beaten egg, breadcrumbs, salt, and pepper. Mix well until all ingredients are evenly distributed.
Step 2: Shape the Rissoles
Divide the mixture into equal portions, about the size of a golf ball. Flatten each portion into a patty about 1/2 inch thick. This will help them cook evenly.
Step 3: Cook the Rissoles
Heat a frying pan or skillet over medium heat and add a little oil. Once hot, add the rissoles and cook for about 4-5 minutes on each side, or until golden brown and cooked through. Ensure they are not crowded in the pan to allow for even cooking.
Step 4: Rest Before Serving
Once cooked, transfer the rissoles to a plate and let them rest for a few minutes. This helps the juices redistribute throughout the rissoles, making them even more flavorful.

What Do I Serve With Jamie Oliver Rissoles?
- Garden Salad: A fresh garden salad complements the richness of the rissoles.
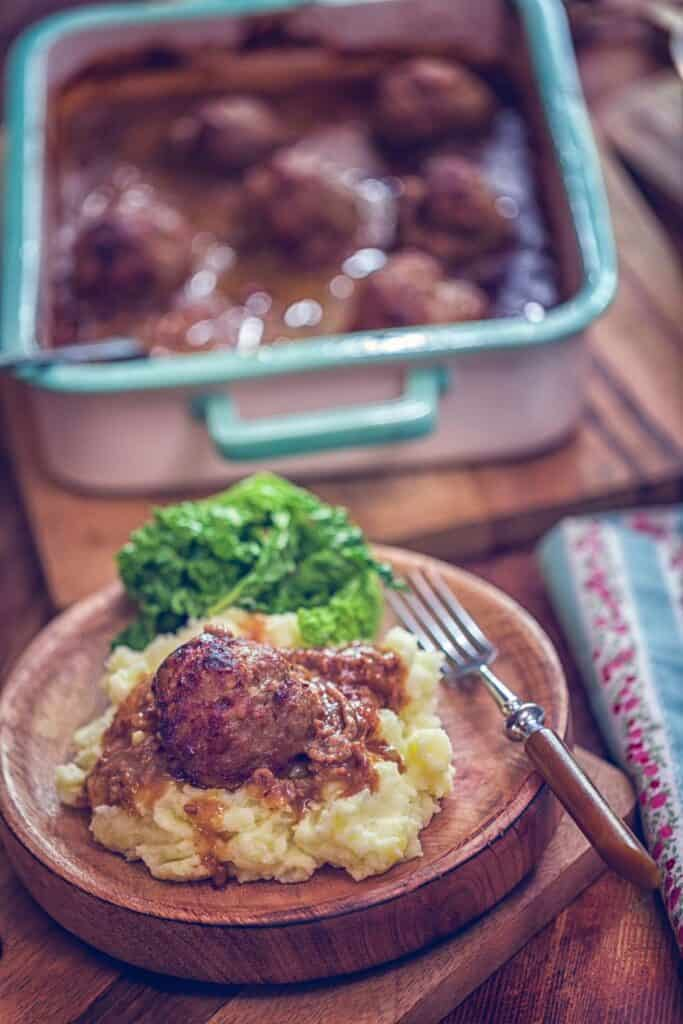
- Mashed Potatoes: Serve with creamy mashed potatoes for a comforting meal.
- Coleslaw: Adds a crunchy, tangy element to balance the meaty rissoles.
- Tomato Sauce: Perfect for dipping and adds a tangy sweetness.
Pro Tips to Make Perfect Jamie Oliver Rissoles
- Do Not Overmix: Mix the ingredients until just combined to avoid tough rissoles.
- Consistent Size: Ensure all rissoles are the same size for even cooking.
- Preheat the Pan: A properly preheated pan ensures the rissoles don’t stick and get a nice sear.
- Rest the Meat: Let the rissole mixture rest for at least 10 minutes before shaping to enhance the flavors.
- Moisture Control: If the mixture seems too wet, add a bit more breadcrumbs to absorb excess moisture. This helps in keeping the rissoles firm and intact during cooking.
- Use Fresh Ingredients: Fresh herbs and spices can significantly enhance the flavor of your rissoles compared to dried or older spices.
- Gentle Flipping: Turn the rissoles gently in the pan to prevent them from breaking apart. Use a thin spatula for best results.
- Test for Seasoning: Cook a small portion of the mixture before shaping the rissoles to taste and adjust the seasoning as needed.
Variations of Jamie Oliver Rissoles
- Cheese Stuffed: Add a cube of cheese in the center of each rissole for a gooey surprise.
- Spicy Version: Include chopped jalapeños or chili flakes in the mix for a kick.
- Vegetarian Twist: Substitute ground beef with mashed chickpeas or lentils.
- Herb Variations: Try adding different herbs like cilantro, dill, or basil for a unique twist on the traditional flavor.
- Meat Alternatives: Experiment with different types of ground meat such as turkey, chicken, or pork for variety.
- Gluten-Free: Use gluten-free breadcrumbs or rolled oats processed into a fine consistency to cater to gluten-free dietary needs.
How Do I Store Jamie Oliver Rissoles Leftovers?
- Refrigerate: Store in an airtight container in the refrigerator for up to 3 days.
- Freeze: Freeze them on a baking sheet before transferring them to a freezer bag for up to 3 months.
How Do I Reheat Jamie Oliver Rissoles Leftovers?
- Oven: Reheat in an oven at 350°F (175°C) until warmed through, about 10-15 minutes.
- Microwave: For a quick option, microwave on high for 1-2 minutes, turning halfway through.
FAQs
Can Jamie Oliver Rissoles Be Made Ahead of Time?
Yes, you can prepare Jamie Oliver Rissoles ahead of time. Shape the rissoles and store them in the refrigerator for up to 24 hours before you need to cook them. Alternatively, you can freeze the shaped rissoles and cook them directly from frozen, adjusting the cooking time accordingly.
Final Words
Jamie Oliver Rissoles are a versatile and delicious choice for any meal. Whether you’re looking for a simple weeknight dinner or something special for guests, these rissoles are sure to impress. Experiment with the variations and find your favorite way to enjoy this delightful dish!
