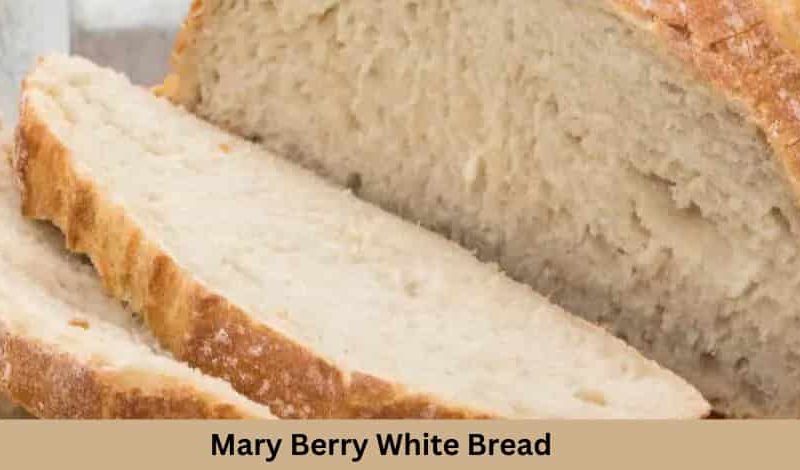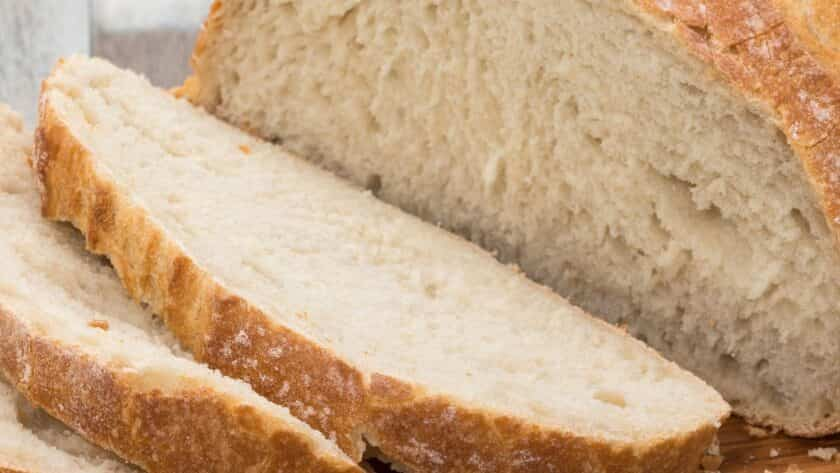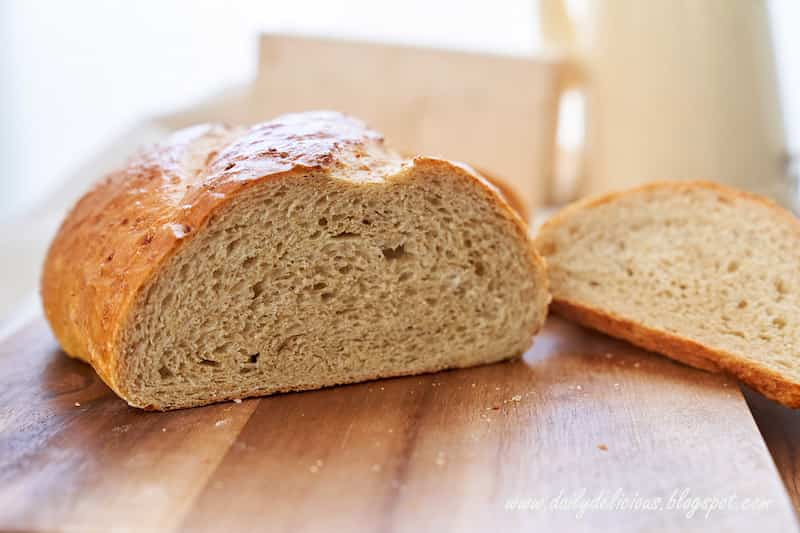
Welcome, bread lovers! Today, I’m excited to guide you through the beloved Mary Berry White Bread recipe. With over a decade of baking experience, I’ve refined this recipe to bring you a classic white loaf that’s both simple and satisfying. In about 1 to 1.5 hours, you’ll transform basic ingredients into a beautiful bread with a crisp crust and a soft, fluffy interior.
This recipe yields one loaf, perfect for several servings, whether you’re craving a warm slice of toast or a hearty sandwich. So let’s get baking and fill your kitchen with the irresistible aroma of homemade bread
What is Mary Berry White Bread Recipe?
The Mary Berry White Bread recipe is a traditional method of making a classic white loaf. It involves mixing strong white bread flour with yeast, salt, butter, and water, followed by kneading, rising, and baking to create bread with a crisp crust and soft interior.
Why You Love this Recipe
- Simplicity: It’s straightforward to follow.
- Versatility: This bread is perfect for sandwiches, toast, or just with a slather of butter.
- Texture: The recipe yields bread with a delightful crust and a fluffy center.
- Homemade Goodness: Nothing beats the taste of freshly baked bread from your own oven.
Ingredients Needed to Make Mary Berry White Bread
Before we begin, let’s gather our ingredients. You’ll need:
- 500g strong white bread flour
- 7g fast-action yeast
- 10g salt
- 30g unsalted butter, softened
- 300ml tepid water
Instructions to Make Mary Berry White Bread
Preparation
- Activate the Yeast:
- In a small bowl, add enough tepid water to cover the bottom.
- Sprinkle 7g of fast-action yeast into the water.
- Wait for 5 minutes until a frothy layer forms on top.
- Mix Dry Ingredients:
- In a large mixing bowl, combine 500g of strong white bread flour and 10g of salt. Whisk together.
Making the Dough
- Combine Wet and Dry Ingredients:
- Pour the activated yeast mixture into the flour and salt.
- Add the remaining tepid water and 30g of softened unsalted butter.
- Mix with a sturdy spoon until combined. The dough will be slightly sticky.
- Knead the Dough:
- Dust a clean surface with a bit of flour.
- Knead the dough for about 10 minutes until it becomes smooth.
First Rise
- Let the Dough Rise:
- Place the dough in a greased bowl and cover with a damp cloth.
- Leave it in a warm, draft-free spot for 1 hour, or until it doubles in size.
Shaping the Loaf
- Shape the Dough:
- Punch down the dough gently to release air.
- Shape it into a loaf and place it in a greased loaf tin.
- Second Rise:
- Allow the dough to rise for another 30 minutes in the tin.
Baking the Bread
- Preheat the Oven:
- Heat your oven to 220°C (fan 200°C, gas mark 7).
- Bake the Bread:
- Place the tin in the oven and bake for 25-30 minutes.
- Check if the bread is done by tapping the bottom – it should sound hollow.
Cooling
- Cool the Bread:
- Remove the bread from the tin and let it cool on a wire rack.
Enjoy Your Bread:
- Slice and enjoy your freshly baked bread with butter, jam, or as part of a delicious sandwich. The bread will have a crisp crust and a soft, fluffy interior.

My bread crust is too hard. How can I prevent this?
A hard crust can result from overbaking or too high an oven temperature. To prevent this, ensure your oven is correctly calibrated and bake the bread at the recommended temperature. If the crust is browning too quickly, tent the bread with aluminum foil during the latter part of baking. Additionally, brushing the crust with milk before baking can result in a softer crust.
Why is my bread too dense or heavy?
Dense or heavy bread can be due to insufficient kneading or not allowing enough time for the bread to rise. Ensure you knead the dough until it’s smooth and elastic – this helps to develop the gluten, which gives the bread structure. Also, give the dough enough time to rise until it doubles in size, as rushing this process can lead to denser bread.
The bread didn’t rise during the second proofing. What went wrong?
If your bread didn’t rise during the second proofing, it could be because the yeast was exhausted or the environment was too cold. Make sure the first rise isn’t overly long, as this can deplete the yeast’s strength. For the second rise, ensure the dough is placed in a warm, draft-free area. If your kitchen is cool, you can place the dough in an off-oven with a bowl of warm water to create a warm environment.
Conclusion:
As we wrap up, I hope you’ve found joy in the simplicity and beauty of bread-making. This Mary Berry White Bread recipe is more than just a set of instructions; it’s a journey through the senses, a testament to the craft, and a celebration of homemade goodness. So, here’s to you, the baker, the creator, the artist. May your bread rise high and your spirits even higher!
Related Recipes
Notes
Cooking Method: Baking Cuisine:British Courses: Sides, Dinner, Lunch Servings: 24

