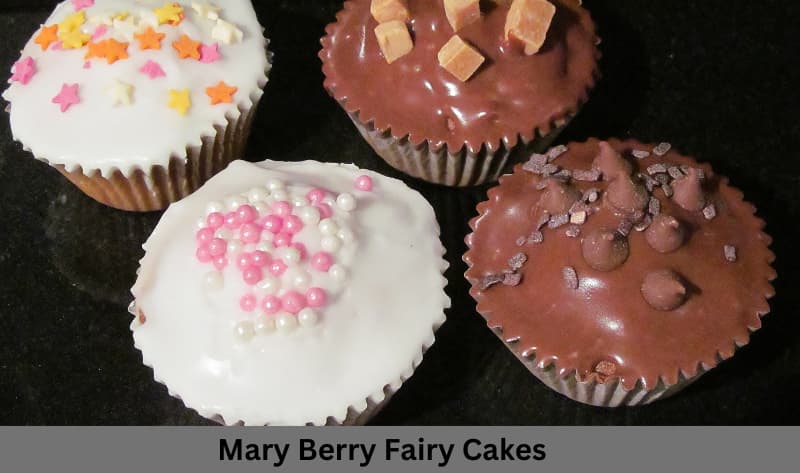
Mary Berry’s Fairy Cakes are perfect for any event. They are small, light, and fluffy with sweet frosting on top. These cakes are great for birthday parties, tea time, or just as a tasty snack. This recipe is easy to follow and loved by both kids and adults. These petite cakes are known for their light, fluffy texture, and their irresistibly sweet frosting. Ideal for birthday parties, afternoon teas, or as a delightful snack, this recipe caters to both children and adults alike.
With a prep and bake time of about an hour, you’ll have a batch of enchanting treats ready to enchant your guests.
What is Mary Berry Fairy Cakes?
Mary Berry’s Fairy Cakes are small, fluffy sponge cakes, traditionally decorated with sweet icing and assorted toppings. They serve as a quintessential British treat for teatime or festive occasions.
Why You’ll Love This Recipe
- Simple Ingredients: Uses everyday ingredients that are easy to find.
- Kid-Friendly: Perfect for baking with children, as the recipe involves simple, engaging steps.
- Versatile: Easily customizable with different icings and toppings.
Other Popular Recipes to Try
Ingredients Needed for Mary Berry Fairy Cakes
- Self-Rising Flour: 100 grams (about 3.5 oz)
- Granulated Sugar: 100 grams (about 3.5 oz)
- Softened Butter: 100 grams (about 3.5 oz), plus extra for greasing
- Eggs: 2 large
- Vanilla Extract: 1 teaspoon
- Milk: 1-2 tablespoons (to adjust consistency)
Equipment
- Muffin tin
- Paper cupcake cases
- Mixing bowls
- Electric mixer or whisk
- Measuring spoons and scales
- Wire cooling rack
Instructions to Make Mary Berry Fairy Cakes
Step 1: Preparing Your Equipment and Ingredients
- Before you begin, preheat your oven to 180°C (350°F). Line your muffin tin with paper cupcake cases to prevent sticking. Ensure all ingredients are measured and ready to use.
Step 2: Mixing the Batter
- In a large mixing bowl, cream together the butter and sugar until light and fluffy. This creates a smooth base for your cakes. Gradually beat in the eggs, one at a time, adding a spoonful of flour with each to prevent curdling. Mix in the vanilla extract.
- Sift the remaining flour into the mixture and fold gently with a spatula until the batter is smooth. If the mixture is too thick, loosen it with a little milk.
Step 3: Filling the Cases
- Spoon the batter into the prepared cupcake cases, filling each about two-thirds full to allow room for rising.
Step 4: Baking
- Place the tray in the oven and bake for 15-20 minutes, or until golden and a skewer inserted into the center of the cake comes out clean.
Step 5: Cooling and Decorating
- Remove the cakes from the oven and let them cool in the pan for a few minutes. Then, transfer to a wire rack to cool completely. Once cooled, top with your choice of icing and decorations such as sprinkles or edible glitter.
Step 6: Serving
- Serve your Fairy Cakes as a delightful treat at your next gathering or as a special snack for the family. Enjoy the light, fluffy texture and the joyful smiles they bring!
- These steps, alongside your baking passion, will ensure your Fairy Cakes turn out as enchanting as Mary Berry’s. Happy baking!

What Do I Serve With Mary Berry Fairy Cakes?
Pairing the right accompaniments with Mary Berry Fairy Cakes can enhance the overall experience, making it perfect for various occasions.
Here are some delightful options:
- Fresh Fruit: Serve with a side of fresh berries or sliced fruit for a refreshing contrast.
- Tea or Coffee: Complement these cakes with a warm cup of tea or coffee.
- Ice Cream: A scoop of vanilla ice cream makes a great companion to a fairy cake.
- Dessert Wine: For an adult gathering, a sweet dessert wine pairs beautifully.
- Whipped Cream: Add a dollop of whipped cream for extra indulgence.
Expert Tips to Make Perfect Mary Berry Fairy Cakes
Achieving the perfect fairy cake is all about technique and attention to detail.
Here are some expert tips:
- Room Temperature Ingredients: Ensure all your ingredients are at room temperature to facilitate easier mixing.
- Do Not Overmix: Mix the batter just until the ingredients are combined to keep the cakes light and fluffy.
- Check Oven Temperature: Make sure your oven is properly calibrated for accurate baking.
- Use Quality Ingredients: High-quality butter and fresh eggs can make a noticeable difference in flavor.
- Test for Doneness: Use a toothpick to check if the cakes are done to avoid overbaking.
Variations of Mary Berry Fairy Cakes
Fairy cakes are wonderfully versatile, allowing for numerous creative variations that can suit any taste or occasion:
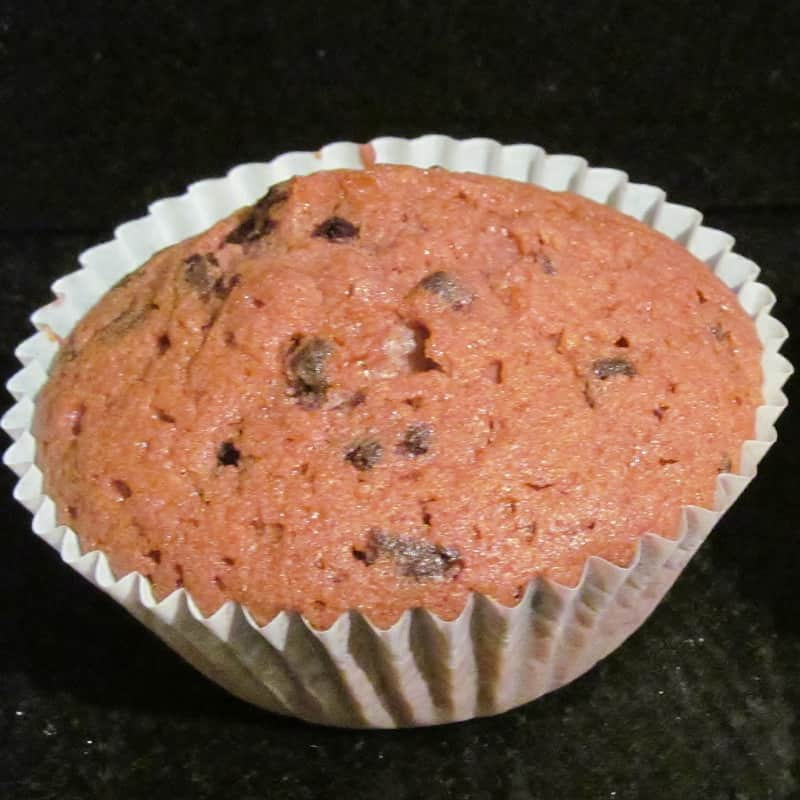
- Chocolate Chip Fairy Cakes: Fold in a handful of chocolate chips into the batter before baking.
- Lemon Drizzle Fairy Cakes: Add lemon zest to the batter and top with lemon juice and sugar drizzle.
- Red Velvet Fairy Cakes: Incorporate a small amount of cocoa powder and red food coloring into the mix for a mini red velvet version.
- Coconut Fairy Cakes: Mix desiccated coconut into the batter and sprinkle some on top before baking.
- Spiced Fairy Cakes: Add cinnamon, nutmeg, and mixed spice for a warm, aromatic flavor.
How do I Store Mary Berry Fairy Cakes Leftovers?
Proper storage of fairy cakes ensures they stay fresh and delicious for as long as possible:
- Airtight Container: Store the cakes in an airtight container at room temperature.
- Separate from Strong Odors: Keep them away from strong-smelling foods to prevent flavor absorption.
- Avoid Refrigeration: Refrigerating can dry out the cakes; keep them at room temperature unless frosted with cream or cheese.
- For Longer Storage: Freeze them without icing for up to a month.
How do I Reheat Mary Berry Fairy Cakes Leftovers?
While fairy cakes are best enjoyed fresh, you can gently reheat them if needed:
- Room Temperature: First, let them reach room temperature if they have been refrigerated or frozen.
- Microwave Briefly: If you prefer them warm, microwave on low power for a few seconds.
- Oven Method: Alternatively, warm them in a preheated oven at 100°C (212°F) for a few minutes.
FAQs
What temperature should Mary Berry Fairy Cakes be baked at?
Mary Berry Fairy Cakes should be baked in a preheated oven at 180°C (350°F). This temperature allows the cakes to rise properly and achieve a golden color while maintaining a moist interior.
How long do Mary Berry Fairy Cakes take to bake?
It typically takes about 15-20 minutes to bake Mary Berry Fairy Cakes. You’ll know they’re done when they are golden on top and a toothpick inserted into the center comes out clean.
Can Mary Berry Fairy Cakes be made in advance?
Yes, you can make Mary Berry Fairy Cakes in advance. They can be stored in an airtight container at room temperature for up to 3 days, or you can freeze them without icing for up to a month.
What are the best toppings for Mary Berry Fairy Cakes?
The best toppings for Mary Berry Fairy Cakes include a simple icing sugar glaze, buttercream frosting, or even a dusting of powdered sugar. For a festive touch, add sprinkles, edible glitter, or fresh berries on top of the icing.
Final Words
The charm of Mary Berry Fairy Cakes lies not only in their delightful simplicity but also in their adaptability to various tastes and occasions. Whether you’re a novice baker or a seasoned pro, this recipe for Mary Berry Fairy Cakes provides a fantastic base to explore your culinary creativity. With the detailed instructions and tips provided, you’re well on your way to creating a batch of heavenly treats that will impress and satisfy you. Embrace the joy of baking with this complete step-by-step guide, and enjoy the delicious outcomes of your efforts!