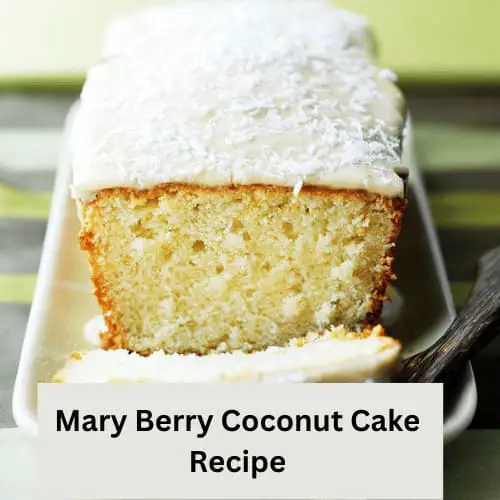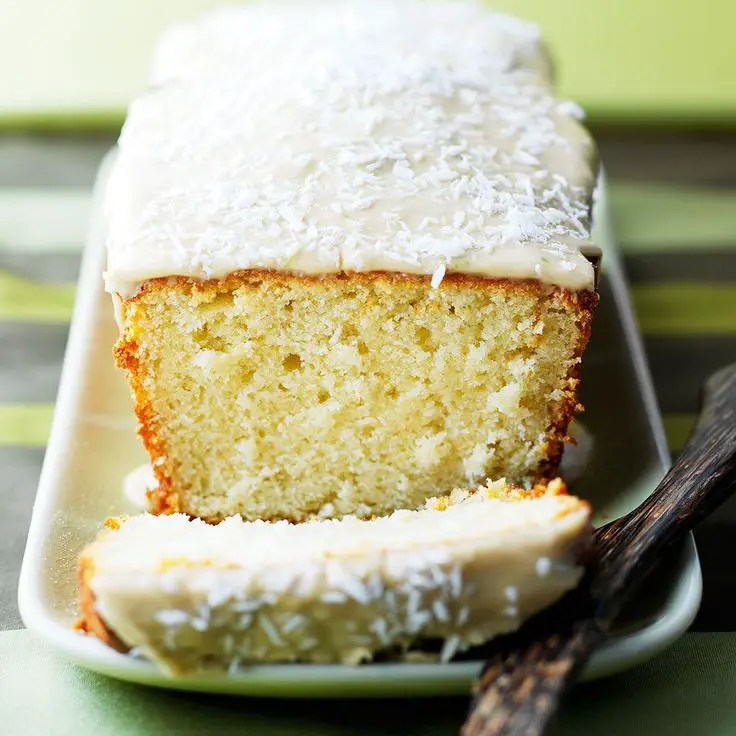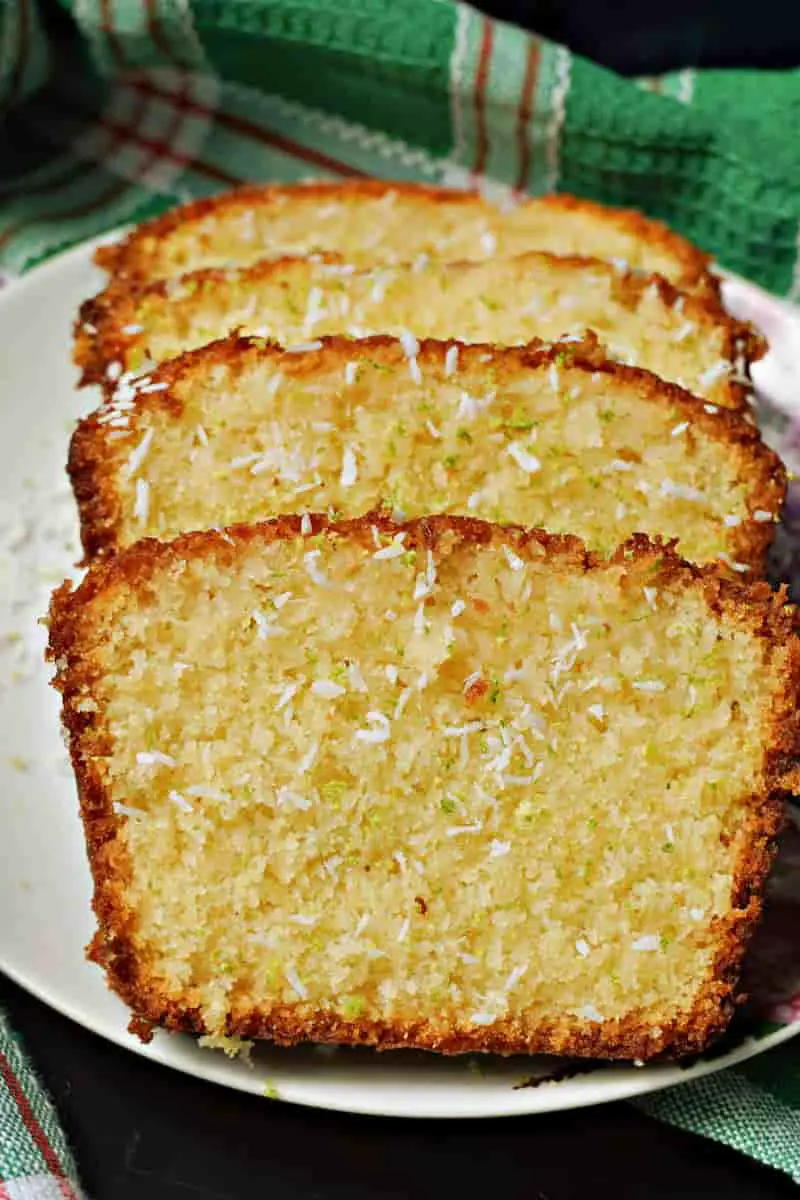
Imagine a cake that transports you straight to a tropical paradise with every bite. That’s the essence of Mary Berry’s Coconut Cake – a delightful confection that combines the sweet, fragrant flavor of coconut with the tender crumb of a perfectly baked cake. Ideal for celebrations, afternoon teas, or as a special weekend treat, this cake promises to be a crowd-pleaser.
This recipe serves 8-10 people and can be prepared in about 2 hours, including baking and cooling time.
In this guide, I’ll walk you through the process of creating this exquisite cake, complete with pro tips and variations to suit your taste.
What is Mary Berry Coconut Cake?
Mary Berry Coconut Cake is a moist, fluffy cake infused with the rich, sweet flavor of coconut throughout. It’s typically topped with a creamy coconut frosting and sprinkled with shredded coconut, offering a beautiful presentation and a delicious taste.

Related:
Why You Should Try This Recipe
- Easy to Make: With straightforward steps, this recipe is perfect for bakers of all levels. It simplifies the process without compromising on taste or presentation.
- Versatile: Ideal for various occasions, from birthdays to tea parties. Its elegant appearance and exquisite taste make it suitable for any event, adding a touch of sophistication.
- Perfect for All Seasons: Whether it’s a warm summer afternoon or a cozy winter evening, this coconut cake fits perfectly into any season’s menu, bringing a taste of the tropics to your table.
- Customizable: This recipe serves as a fantastic base that can be tailored to your liking. Add your favorite fruits, nuts, or spices to make it uniquely yours.
- Nutrient-Rich: Coconut is known for its nutritional benefits, including fiber and healthy fats. This cake offers a way to indulge in a sweet treat while incorporating the goodness of coconut.
Ingredients:
To make this coconut cake, you will need the following ingredients:
- Butter: 115g unsalted, plus extra for greasing. It enriches the cake, adding moisture and aiding in rising.
- Flour: 225g self-raising, sifted with a pinch of salt, for a light, airy texture without additional leavening agents.
- Sugar: 115g demerara, for a caramel flavor and crunchy top.
- Coconut: 100g desiccated, extra for topping, offering tropical flavor and texture. Shredded or flaked can also be used.
- Eggs: Two large, lightly beaten, for structure and moisture.
- Milk: Four tablespoons, to smooth and combine the batter effectively.
Equipment
To make this coconut cake, you will need the following equipment:
- A 900-gram loaf tin
- Some baking paper
- A mixing bowl
- A wooden spoon or an electric mixer
- A palette knife
- A skewer
- A wire rack
Instructions to Make Mary Berry Coconut Cake
Making this coconut cake is very simple and straightforward. Just follow these steps:
Step 1: Preheat the oven and prepare the loaf tin
- Preheat your oven to 160°C/140°C fan/gas mark 3. Grease your loaf tin with some butter and line it with baking paper. This will prevent the cake from sticking to the tin and make it easier to remove later.
Step 2: Rub the butter into the flour
- In a large mixing bowl, rub the butter into the flour with your fingertips until the mixture resembles fine breadcrumbs. This is called the rubbing-in method, and it helps to create a tender crumb in the cake.
Step 3: Stir in the sugar and the coconut
- Stir in the sugar and the coconut with a wooden spoon or an electric mixer until well combined.
Step 4: Add the eggs and the milk
- Add the eggs and the milk and mix well until you have a soft-dropping consistency. This means that the batter should drop off your spoon easily when you lift it up.
Step 5: Spoon the batter into the loaf tin
Spoon the batter into your prepared loaf tin and smooth the surface with a palette knife. Make sure to spread it evenly and fill all the corners of the tin.
Step 6: Bake the cake for 30 minutes and sprinkle some coconut on top
- Bake the cake for 30 minutes in the preheated oven. Then, take it out and sprinkle some extra coconut on top of it. This will create a nice golden crust on your cake.
Step 7: Bake the cake for another 20 to 25 minutes and check if it is done
- Return the cake to the oven and bake for another 20 to 25 minutes, or until it is well-risen and golden brown. To check if it is done, insert a skewer into the center of the cake and see if it comes out clean. If it does, your cake is ready. If not, bake it for a few more minutes until it is done.
Step 8: Let the cake cool slightly in the tin and turn it out onto a wire rack
Let the cake cool in the tin for about 10 minutes, then turn it out onto a wire rack to cool completely. Now, your delightful Mary Berry Coconut Cake is ready to enjoy or store for later.

What To Serve With Mary Berry Coconut Cake
You can serve this coconut cake with any of these options:
- A Scoop of Gelato: Vanilla bean or coconut gelato alongside a slice of this cake makes for a decadent pairing.
- Fruit Compote: A berry compote, with its slight acidity, balances the sweetness of the cake beautifully.
- Whipped Cream: A dollop of lightly sweetened whipped cream adds a cloud-like texture.
- Tropical Fruit Salad: Mango, pineapple, and papaya tossed in lime juice offer a refreshing side.
Pro Tips to Make Perfect Mary Berry Coconut Cake
Achieving that perfect Mary Berry Coconut Cake is all about mastering the nuances of baking. Here are some pro tips to help you bake the cake just right, ensuring it’s a hit every time.
- Room Temperature Ingredients: Ingredients blend more smoothly when they’re at room temperature, creating a uniform batter.
- Fold Gently: When incorporating the flour and coconut milk, fold gently to maintain the batter’s airiness.
- Test for Doneness: Besides the skewer test, lightly press the cake’s surface; it should spring back when it’s done.
- Cooling Time: Allow the cake to cool completely before frosting to prevent the icing from melting.
Variations of Mary Berry Coconut Cake
Exploring variations of the classic Mary Berry Coconut Cake allows bakers to get creative and tailor the dessert to their taste preferences or the occasion at hand.
Here are some delightful twists.
- Raspberry Coconut Cake: Add a layer of raspberry jam between the cake layers for a fruity contrast.
- Chocolate-Coconut Fusion: Introduce cocoa powder into the batter for a chocolatey take on the classic.
- Lemon Coconut Cake: Incorporate lemon zest into the cake and frosting for a zesty flavor.
- Almond Joy Inspired: Mix slivered almonds into the batter and topping for a crunch that echoes the popular candy bar.
How do I Store Mary Berry Coconut Cake Leftovers?
Storing your Mary Berry Coconut Cake correctly ensures you can enjoy its delightful taste and texture for days after baking.
Here’s how to keep your leftovers fresh and delicious:
- Airtight Container: Place the cake in an airtight container to prevent it from drying out.
- Keep It Cool: Store the container in a cool, dry place if you’re planning to eat the cake within the next 24-48 hours.
- Refrigerate for Longer Freshness: For longer storage, refrigerate the cake, ensuring it’s tightly covered to avoid absorbing other flavors.
- Separate Layers: If your cake is frosted, consider placing a piece of parchment paper between any layers to keep them from sticking together.
How do I Reheat Mary Berry Coconut Cake Leftovers?
Reheating Mary Berry Coconut Cake leftovers correctly can help bring back the cake’s moist texture and warm flavor.
Here’s how to do it without drying it out:
- Oven Method: Preheat your oven to 160°C (320°F). Wrap the cake slice in aluminum foil and heat for about 5-10 minutes for a gentle warm-up.
- Microwave with Care: For a quicker option, microwave the cake on a low setting for 10-15 seconds. Be cautious not to overheat, as it can dry out the cake.
- Avoid High Heat: Reheating at high temperatures can make the cake dry, so always opt for a gentler approach.
- Check Frequently: When using either method, check the cake frequently to ensure it doesn’t overheat.
Mary Berry Coconut Cake Nutrition:
One serving of coconut cake (1/12 of 9″ diameter) has the following nutrition facts:
- Calories: 399
- Total Fat: 12g (15% DV)
- Saturated Fat: 4.4g (22% DV)
- Cholesterol: 1.1mg (0% DV)
- Sodium: 318mg (14% DV)
- Total Carbohydrate: 71g (26% DV)
- Dietary Fiber: 1.1g (4% DV)
- Sugars: 64g
- Protein: 4.9g
- Vitamin D: 0.2mcg (1% DV)
- Calcium: 101mg (8% DV)
- Iron: 1.3mg (7% DV)
- Potassium: 110.9mg (2% DV)
FAQs
Here are some frequently asked questions about this recipe:
How do I know if this cake is done?
You can check if this cake is done by inserting a skewer into the center of the cake and seeing if it comes out clean. If it does, your cake is ready. If not, bake it for a few more minutes until it is done.
Is coconut flour good for baking cakes?
Coconut flour is excellent for baking cakes, especially for those seeking gluten-free or low-carb options. It imparts a light, coconut flavor and is highly absorbent, making it ideal for moist cake recipes.
What is the secret to baking with coconut flour?
The secret to successful baking with coconut flour lies in its high absorbency. You’ll need to use less coconut flour than traditional flour and increase the number of eggs and liquid in your recipe to achieve the right moisture level and structure.
Can I use other types of sugar or flour for this recipe?
You can use other types of sugar or flour for this recipe, but they may affect the flavor and texture of your cake. For example, using white sugar instead of demerara sugar will make your cake less caramel-like and less crunchy on top. Using plain flour instead of self-raising flour will make your cake less fluffy and more dense. You will also need to add some baking powder to the plain flour to make it rise.
Can I use all-purpose flour instead of self-raising flour?
Yes, you can substitute all-purpose flour for self-raising flour. For every cup of self-raising flour required, use 1 cup of all-purpose flour and add 1 ½ teaspoons of baking powder and ¼ teaspoon of salt. This mixture will mimic the leavening effect of self-raising flour.
What if I don’t have demerara sugar?
If you don’t have demerara sugar, you can use light brown sugar as a substitute. It will still provide a rich, caramel-like sweetness to the cake. The texture might be slightly different, but the overall flavor will remain delicious and satisfying.
Can I make this cake dairy-free?
Absolutely, to make this cake dairy-free, replace the butter with a dairy-free alternative like coconut oil or vegan butter. For the milk, any plant-based milk such as almond milk, coconut milk, or soy milk works well as a substitute, maintaining the cake’s moistness and flavor.

Final Words
I hope you enjoyed this recipe for Mary Berry’s coconut cake. It’s a simple and delicious cake that you can make with a few basic ingredients and enjoy with a cup of tea or coffee. It’s also very versatile and adaptable, as you can add different toppings or fillings to suit your taste. If you try this recipe, let me know how it turned out in the comments below.
I’d love to hear from you! Happy baking!
More From Mary Berry’s:
- Apple Chutney Recipe Mary Berry
- Mary Berry’s Cauliflower Cheese
- Mary Berry Bacon and Egg
- Salmon and Asparagus Quiche Mary Berry Recipe
- Salmon and Broccoli Quiche Mary Berry
- Mary Berry Eve’s Pudding Recipe
- Steak and Mushroom Pie Mary Berry
- Mary Berry Apricot Crumble Tart
- Mary Berry Lime and Coconut Cake
- Mary Berry Raspberry and Coconut

I made this cake once, but the consistency of the batter was not a soft dropping one, but was quite stiff. The cake turned out alright, but I’m just wondering if I make it again what should I do differently to get that consistency? Looking forward to your advice!
To achieve a softer, dropping consistency for your batter, try adding a bit more milk, one tablespoon at a time, until you reach the desired texture. This adjustment should help the batter become less stiff and improve the overall texture of your cake.
Additionally, ensure your butter is at room temperature before mixing, as this can affect the batter’s consistency. Also, when measuring flour, fluff it up first then spoon it into your measuring cup and level it off. This prevents packing too much flour, which could make the batter stiff.